
Worklists
Worklists show appropriate events and information to each type of user. Choose the right worklist layout to help users prioritise and process events. Create Filter Profiles to switch between different sites, modalities, or type of event.
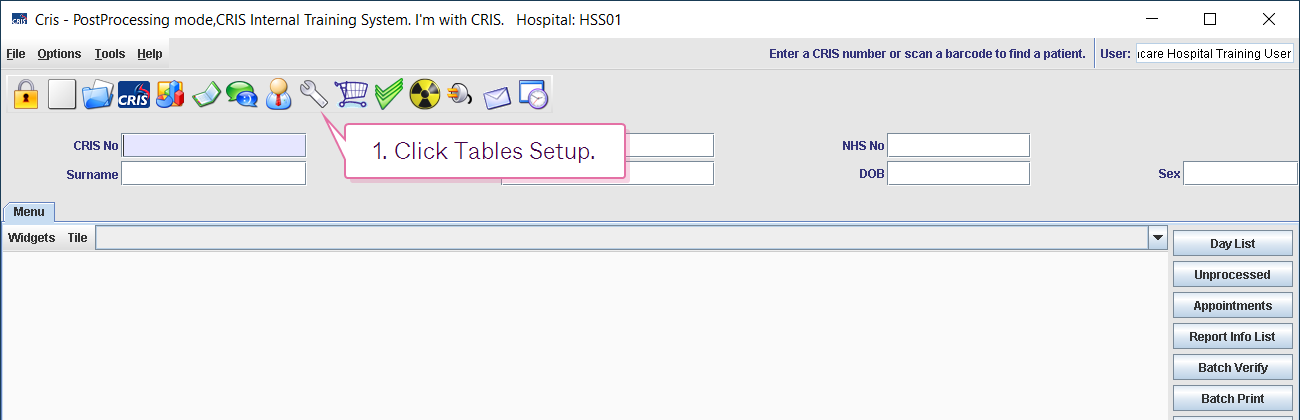
Use XR settings to select columns (override the default) for each worklist.
- Click Tables Setup.

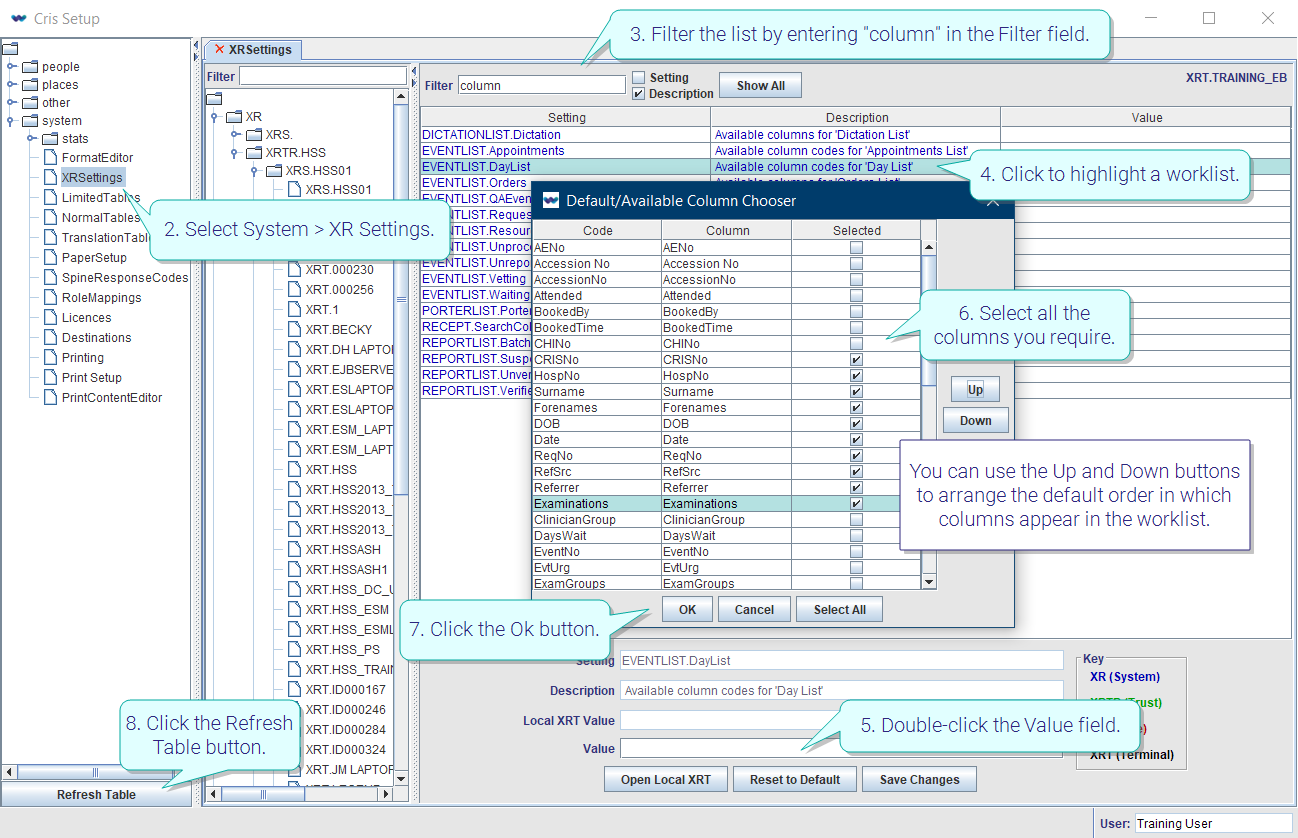
- Select System > XR Settings.
- Filter the list by entering "column" in the Filter field.
- Click to highlight a worklist.
- Double-click the Value field.
- Select all the columns you require.
- Click the OK button.
- Click the Save Changes button.
- Click the Refresh Table button.
You can use the Up and Down buttons to arrange the order in which columns appear in the worklist.
It is essential to consider the level of an XR setting when making changes. System and Trust should not be altered without agreement from all stakeholders.
| Level | Description |
|---|---|
| XR (System) | Changes made here will affect the entire Cris system across all connected trusts. |
| XRTR (Trust) | Changes made here will override XR and affect the whole trust. |
| XRS (Site) | Changes made here will override XRTR and affect the entire hospital / site. |
| XRT (Terminal) | Changes made here will override XRS Setting and only apply to that terminal / workstation. |
Note:
When you open the Cris Setup window, you will see that your terminal is highlighted in the directory tree. Therefore, if you change XR settings, they will be applied at Terminal level. If you want XR settings to apply across your Site, Trust, or System, select a higher level folder before making changes.

Note:
Users with the CHANGE_COLUMNS permission can change which columns they see. Their choice is saved as a user preference.
Tip:
If your search doesn't return results, try selecting the Setting or Description tickbox. This will search the selected column.

Tip:
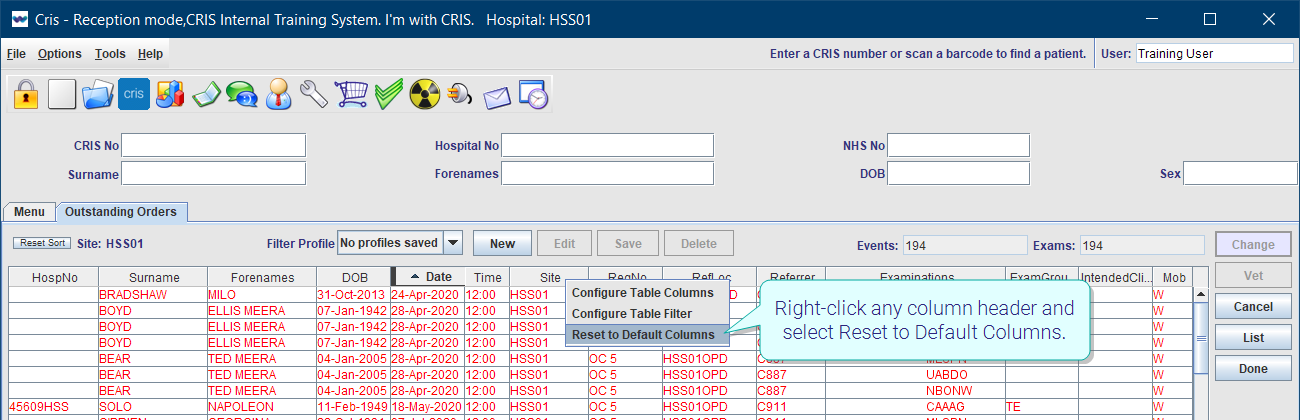
To reset columns to the default layout, right-click any column header and select Reset to Default Columns.
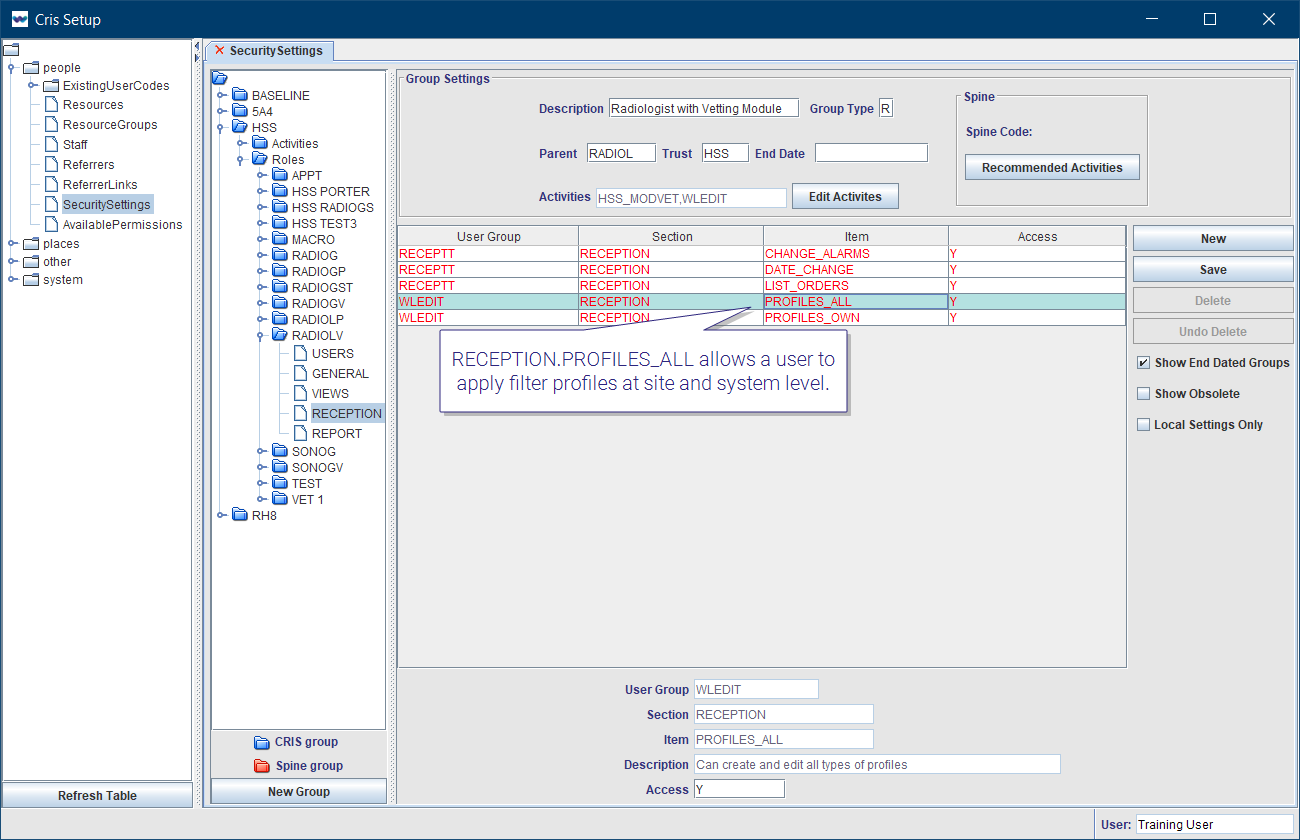
These settings allow people to add columns, filter columns, and create filter profiles.
Create the activity WLEDIT
- Click Tables Setup.
- Select People > Security Settings.
- Click
 to open your organisation's folder.
 - Click the New Group button.
- Enter "WLEDIT" in the Group Name field.
- Select the Activity button.
- Click the Add button.
- Click the Refresh Table button.
- Click to select the WLEDIT folder.
- Enter in the Description field "Worklist - Configure Table Columns".
- Click the New button.
- Double-click or press F4 in the Section field and select a category (see table below).
- Double-click or press F4 in the Item field and select a permission.
- Click the Save button.
- Click the Refresh Table button.

Repeat for the other permissions.
| Section | Item | Description |
|---|---|---|
| VIEWS | CHANGE_COLUMNS | Change the order of columns in a worklist. |
| VIEWS | CHANGE_FILTERS | Access Configure Table Filters and apply advanced filters. |
| RECEPTION | PROFILES_OWN | Create your own profile. Apply profile at user level only. |
| RECEPTION | PROFILES_ALL | * Create your own profile. Apply profile at user, site, and system level. |
Add the activity WLEDIT to a role
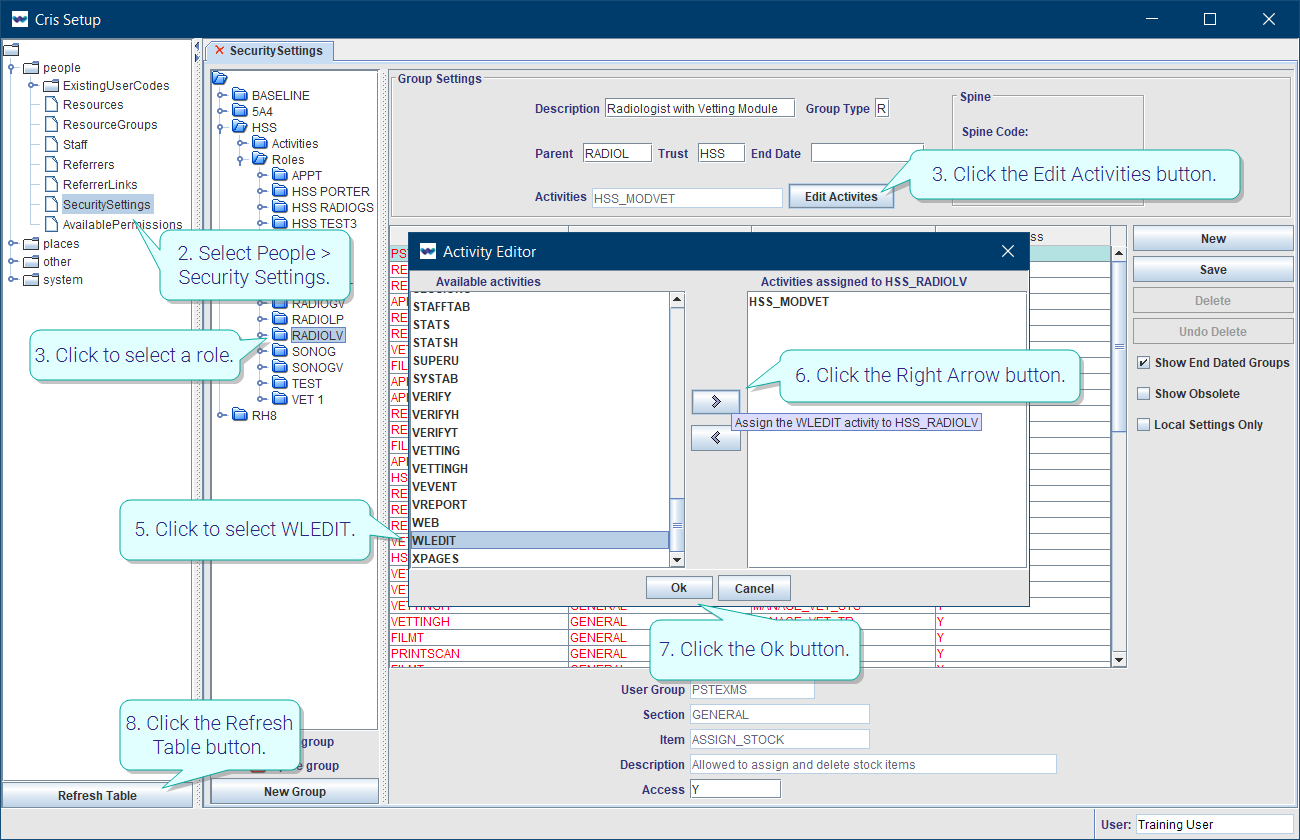
- Click Tables Setup.
- Select People > Security Settings.
- Click to select a role.
- Click the Edit Activities button.
- Click to select WLEDIT in the Available activities panel.
- Click the Right Arrow button to move it to the Activities assigned panel.
- Click the OK button.
- Click the Refresh Table button.
Warning:
* This permission should only be given to system administrators.
Warning:
PROFILES_ALL allows a system administrator to apply filter profiles at System and Site level. If you want to allow other users to create their own filter profiles, make another activity called WLEDIT_OWN without the PROFILES_ALL permission.
Note:
You can add individual users to an activity, but it is faster to add the activity to a role which will then assign it to all users with that role.

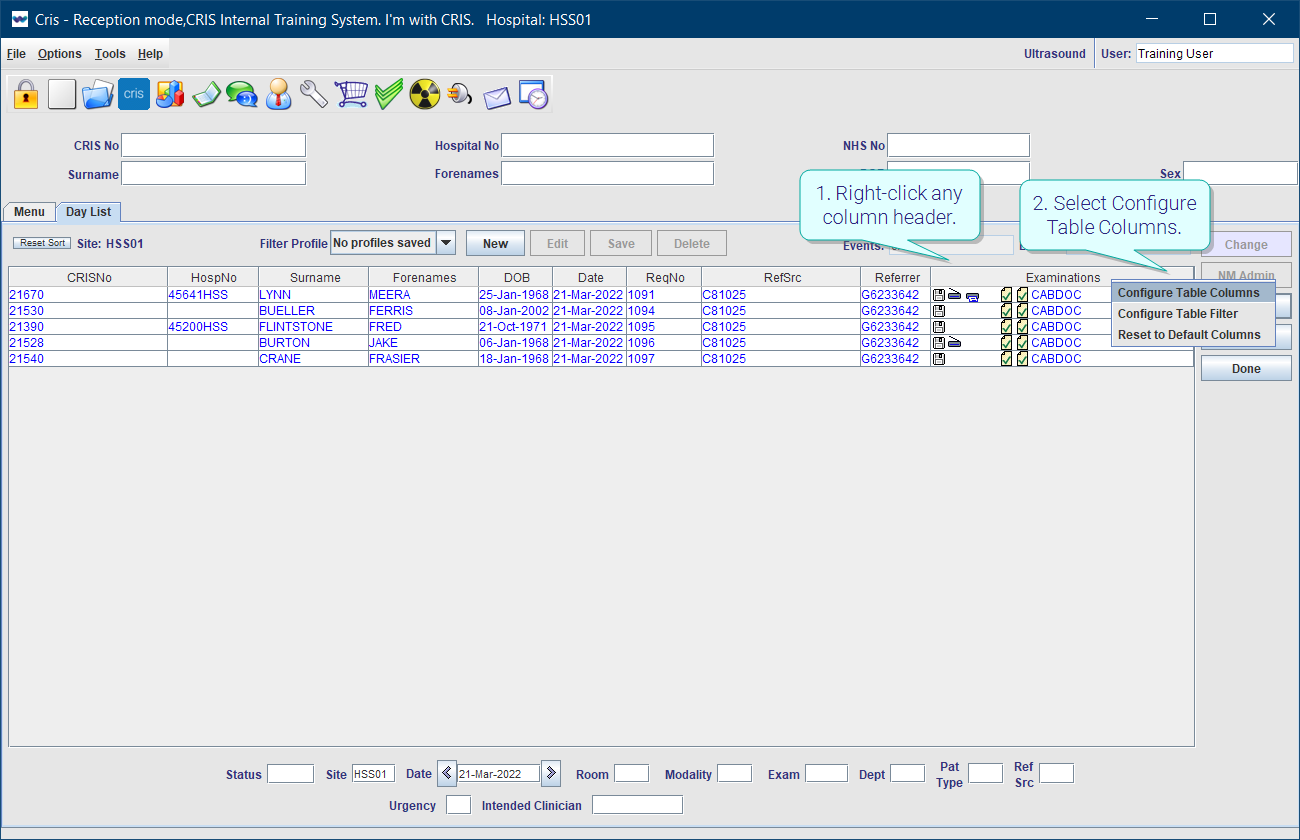
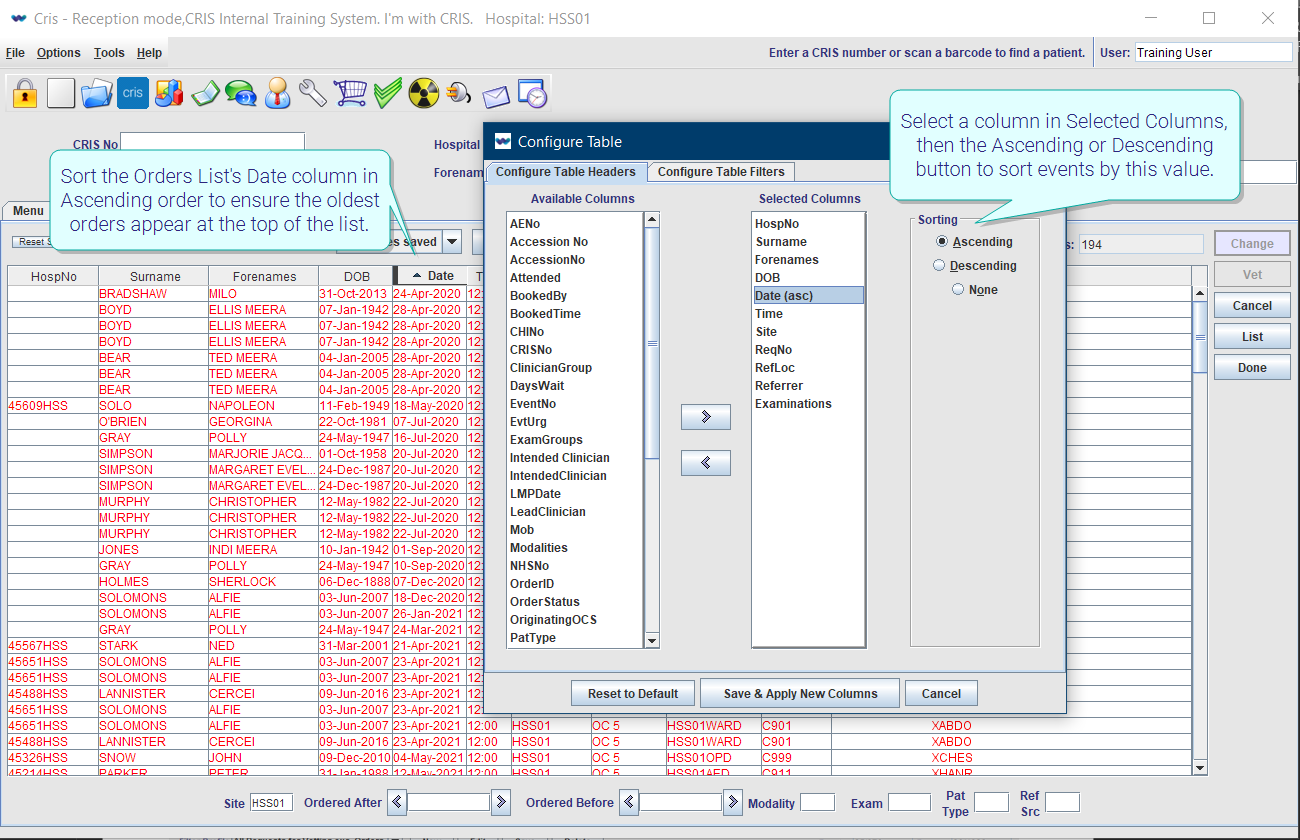
- Right-click any column header.
- Select Configure Table Columns.
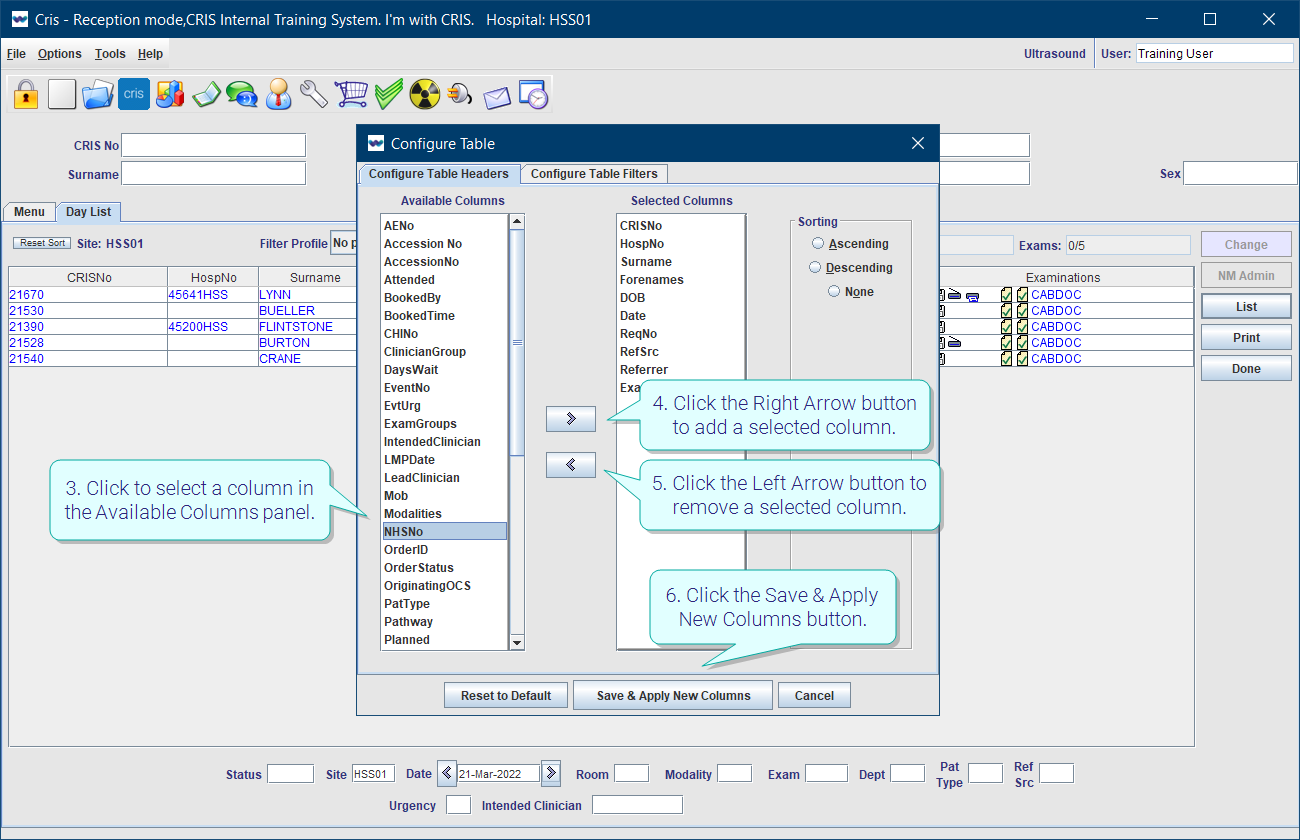
- Click to select a column in the Available Columns panel.
- Click the Right Arrow button to add a selected column to the Selected Columns panel.
- Click the Left Arrow button to remove a selected column from the Selected Columns panel.
- Click the Save & Apply New Columns button.
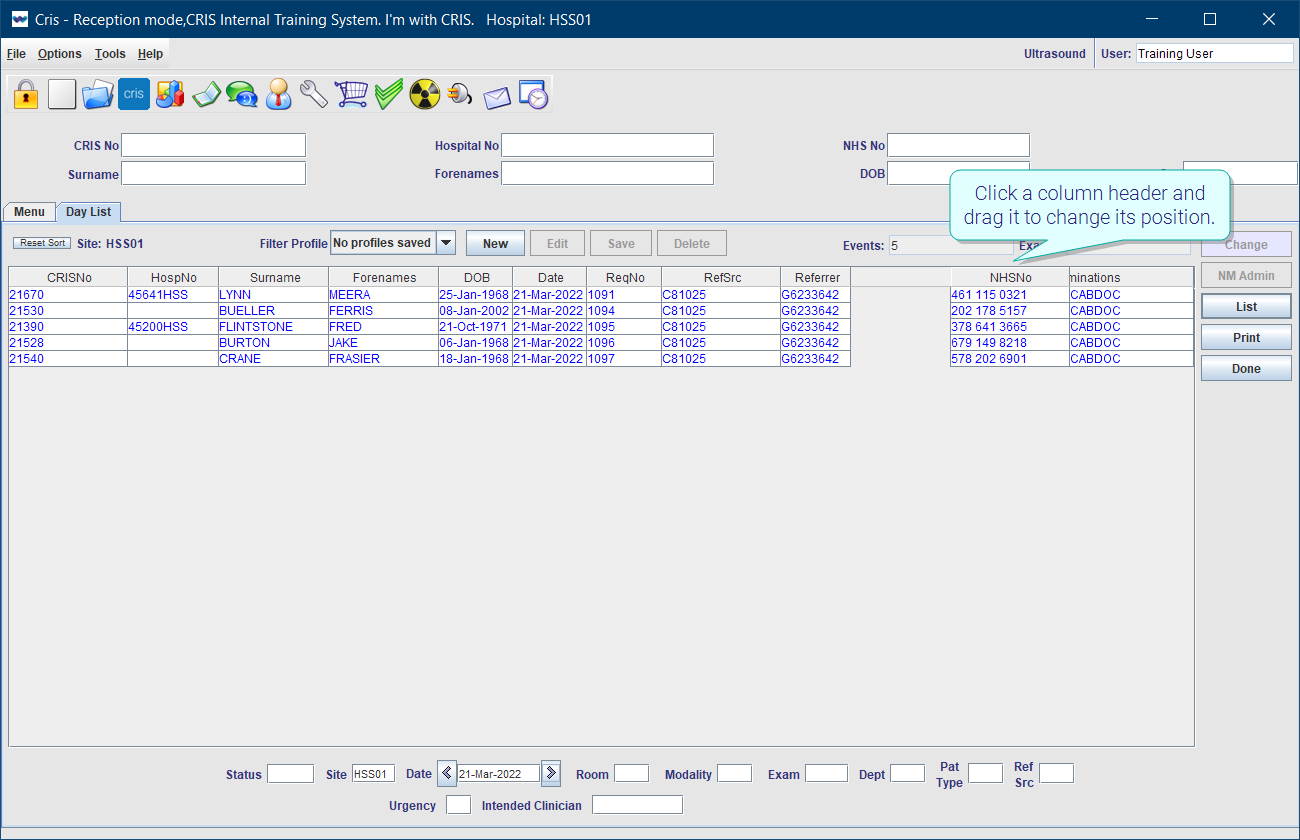
Tip:
Click a column header and drag it to change its position.
Tip:
Select a column in Selected Columns, then the Ascending or Descending button to sort events by this value. For example, you could sort the Orders List's Date column in Ascending order to ensure the oldest orders appear at the top of the list.
Tip:
To reset columns to the default layout, right-click any column header and select Reset to Default Columns.
- Right-click any column header.
- Select Configure Table Filter.
- Select an operator from the dropdown by the column name.
- Enter a value. If you have more than one value, enter a comma-separated list.
- Click the Save & Apply New Columns button.

| Operator | Description | Example |
|---|---|---|
| is | Show events where there is an exact match to this value in this column. | Exam is XCHES, XABDO shows events with both XCHES and XABDO, but no other exams. XCHES / XABDO / XPELV would not appear. |
| is not | Show events where there is not an exact match to this value in this column. | Exam is not XCHES, XABDO shows events which are not XCHES and XABDO only. XCHES / XABDO / XPELV would appear. |
| contains | Show events where this value appears in this column. |
Exam contains XCHES, XABDO shows events with either of those exams, even if there are other exams in the event. UABDO / XABDO would appear. |
| does not contain | Show events where this value does not appear in this column. |
Exam does not contain XCHES, XABDO would show events with neither of those exams. XSKUH / MSKUH would appear. UABDO / XABDO would not appear. |

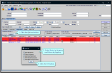
Note:
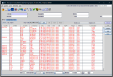
You can see that this list has a filter applied because there is a difference between the displayed events / total events numbers.
The filter icon indicates that a filter has been applied to a column.

Tip:
To remove a single filter, right-click a filtered column's header and select Remove Filter.

To remove all filters, right-click any column header and select Remove All Filters.

Tip:
Select a column in Selected Columns, then the Ascending or Descending button to sort events by this value. For example, you could sort the Orders List's Date column in Ascending order to ensure the oldest orders appear at the top of the list.
Tip:
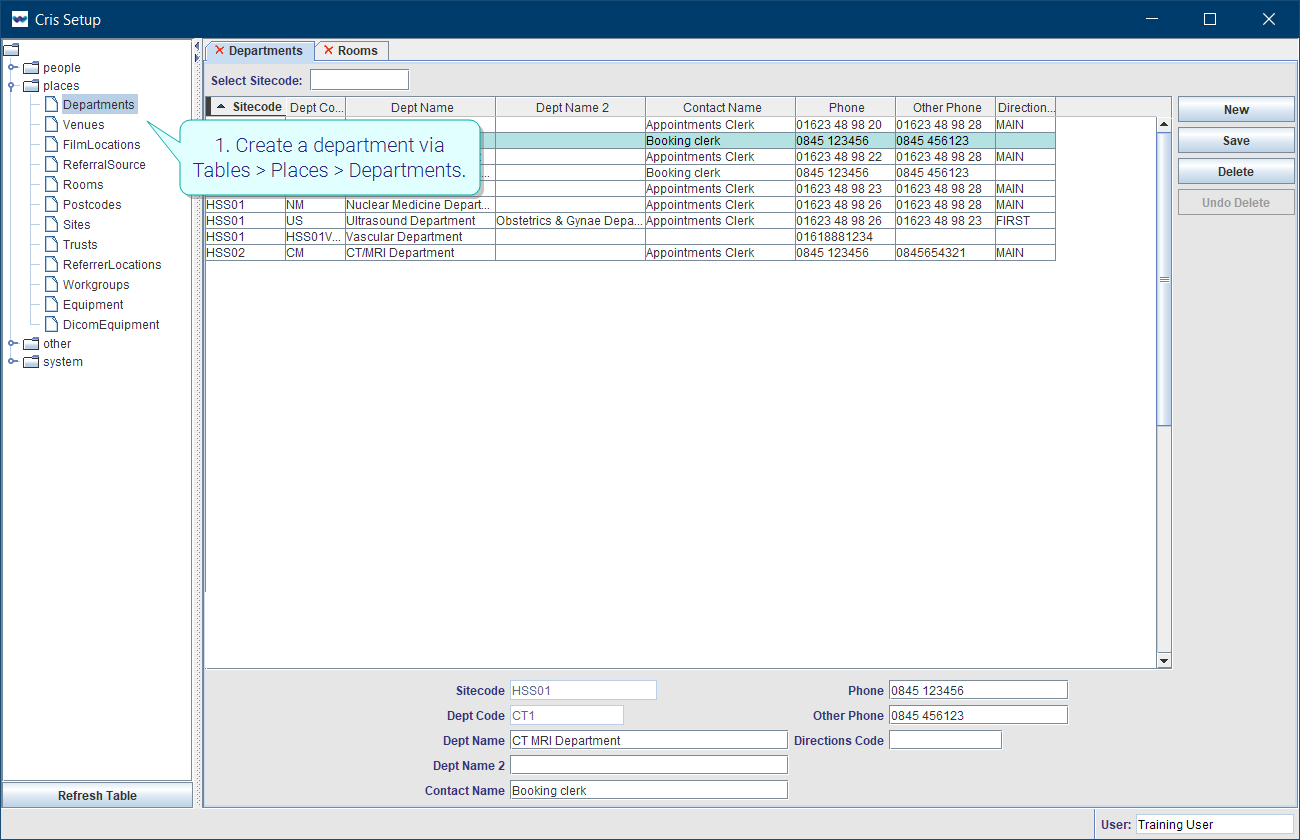
-
Create a department via Tables > Places > Departments.
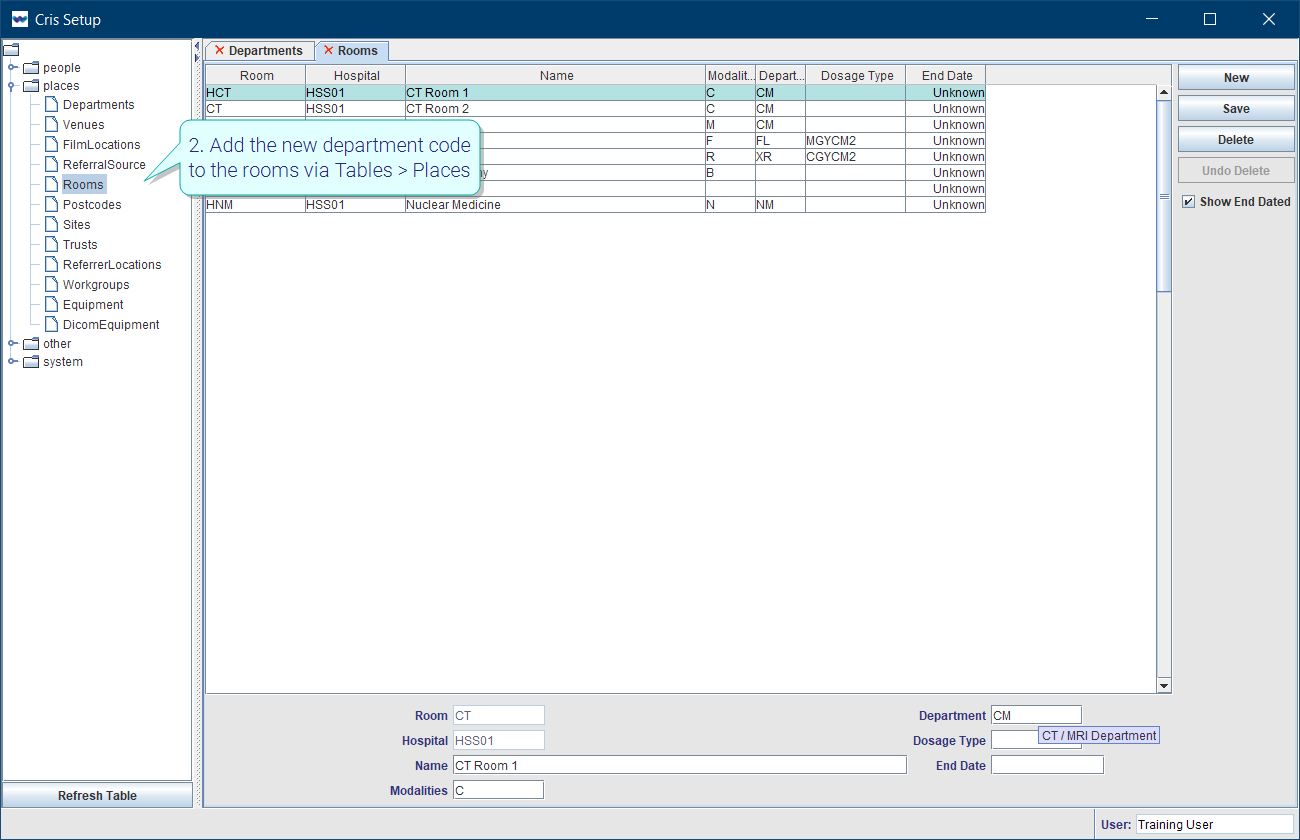
-
Add the new department code to the rooms via Tables > Places > Rooms.
-
Filter worklists by the Department field to see multiple rooms.

-
Open a worklist.
-
Click the New button.
-
Enter a name and description.
-
Select User from the Level field.
-
Click the (first) Save button.
-
Enter U for ultrasound in the Modality field.
-
Right-click the table header.
-
Select Configure Table Filters.
-
Select the operator contains for Vetting Status.
-
Enter a comma-separated list of codes.
-
Click the Save & Apply New Columns button.
-
Click the (second) Save button.
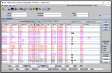
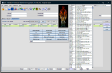
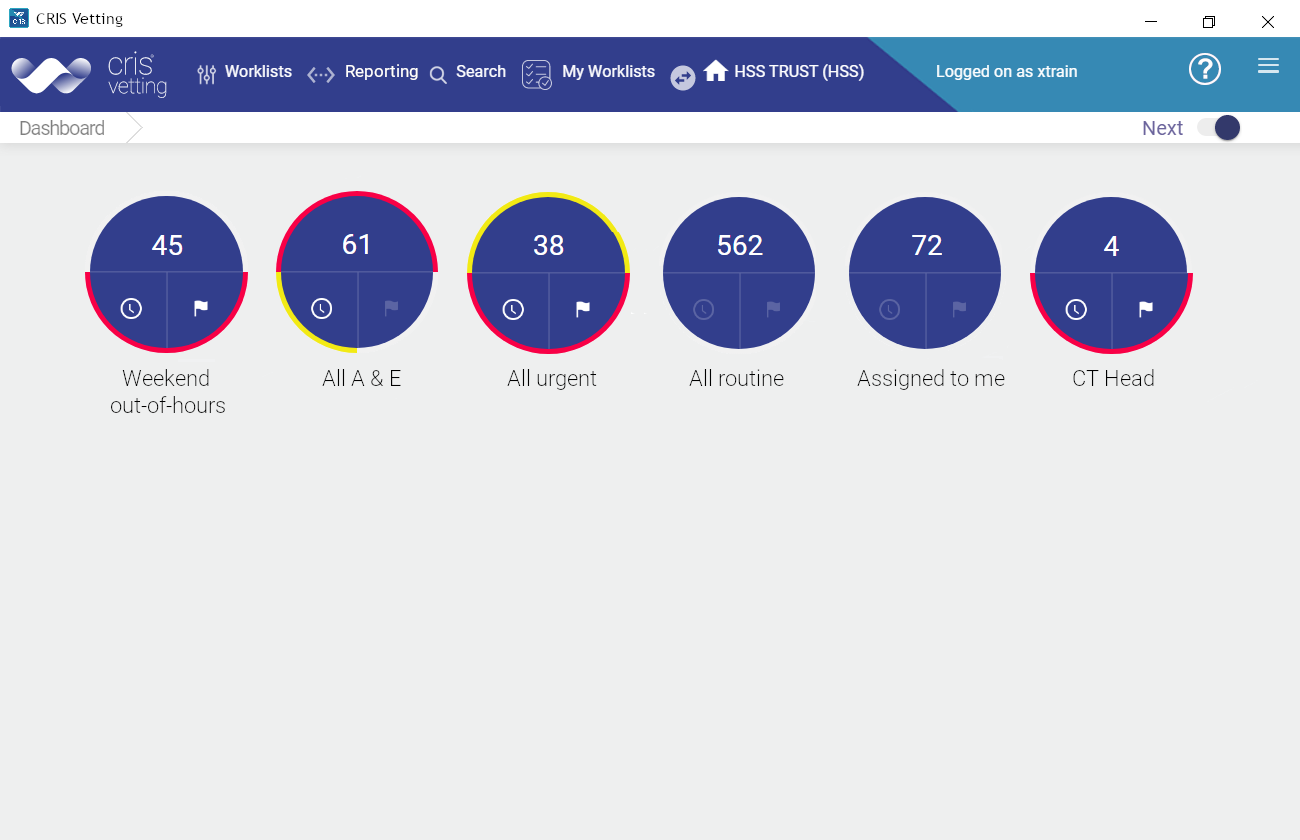
The current filter profile is shown here.

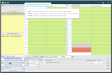
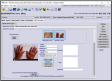
The Add filter profile window opens.

For this example, we want to see ultrasound requests and orders which are awaiting vetting.


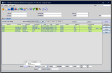
Filters have been applied.

Your new filter profile is saved.

Warning:
You can select All lists and the filter profile will be available in all worklists, but it may give inaccurate results if the fields or columns in other worklists do not match those in the original list where you made the filter profile. For example, Modality is usually present in all lists, whereas Vetting Status is unique to the Vetting List.
Note:
You can only apply filter profiles at System or Site level if you have the user permission.
Summary of how to create a filter profile:

|
Click New. |

|
Enter a name. |

|
Click Save. |

|
Select filters. |

|
Click Save. |
Tip:
Close and re-open the worklist if your filter profile does not appear straight away.
Tip:
-
Create a department via Tables > Places > Departments.
-
Add the new department code to the rooms via Tables > Places > Rooms.
-
Filter worklists by the Department field to see multiple rooms.
When you change columns or apply filters to a worklist, your selections are saved as user preferences (in the Staff table) so the list looks the same the next time you open it.
Restore via the worklist
Remove column and filter selections by right-clicking the table header.
-
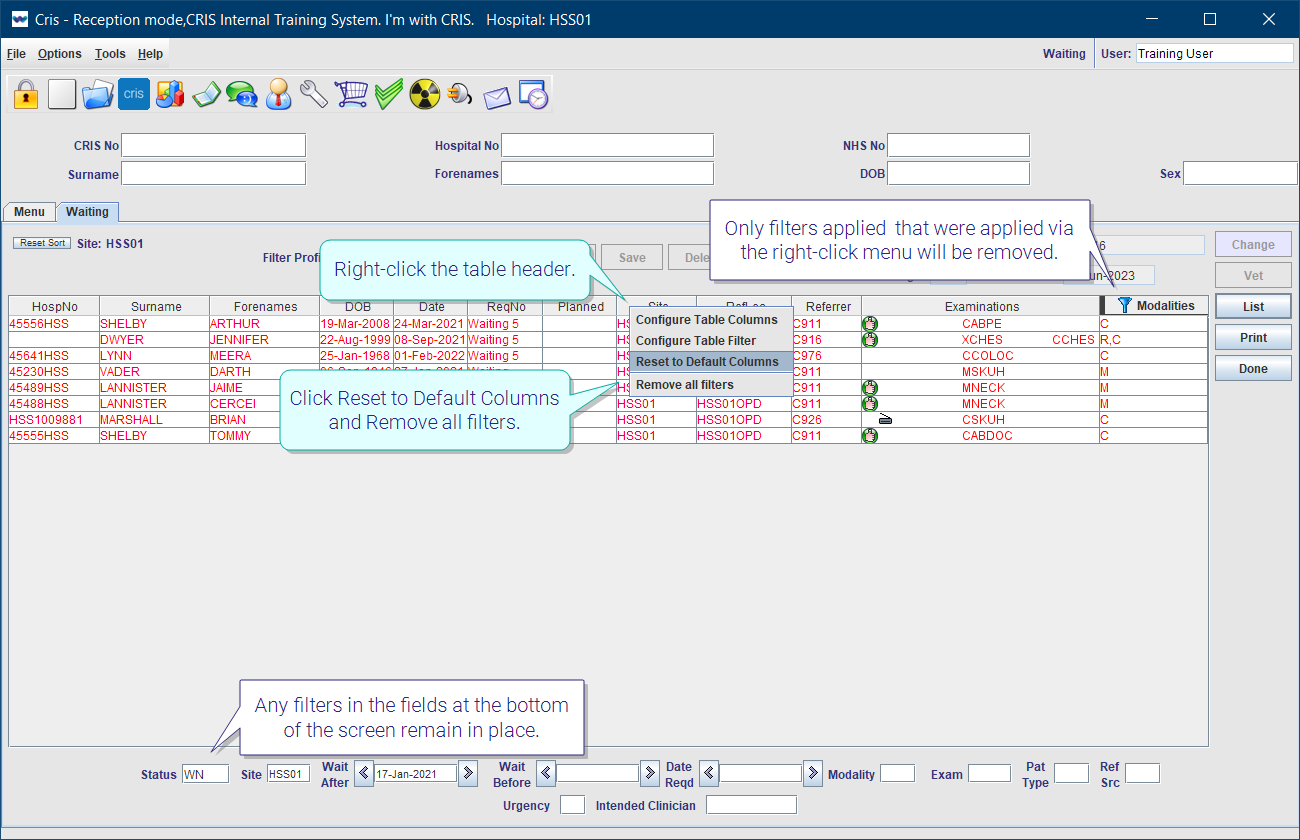
Right-click the table header.
-
Click Reset to Default Columns.
-
Right-click the table header.
-
Click Remove all filters.
Columns return to the default layout.
Note:
Only filters applied that were applied via the right-click menu will be removed. Any filters in the fields at the bottom of the screen remain in place.
Tip:
Create a 'blank' filter profile with no filters in the fields at the bottom of the screen and no column filters applied. You can switch to this profile to clear all column and filter selections in one action.
Restore via user preferences
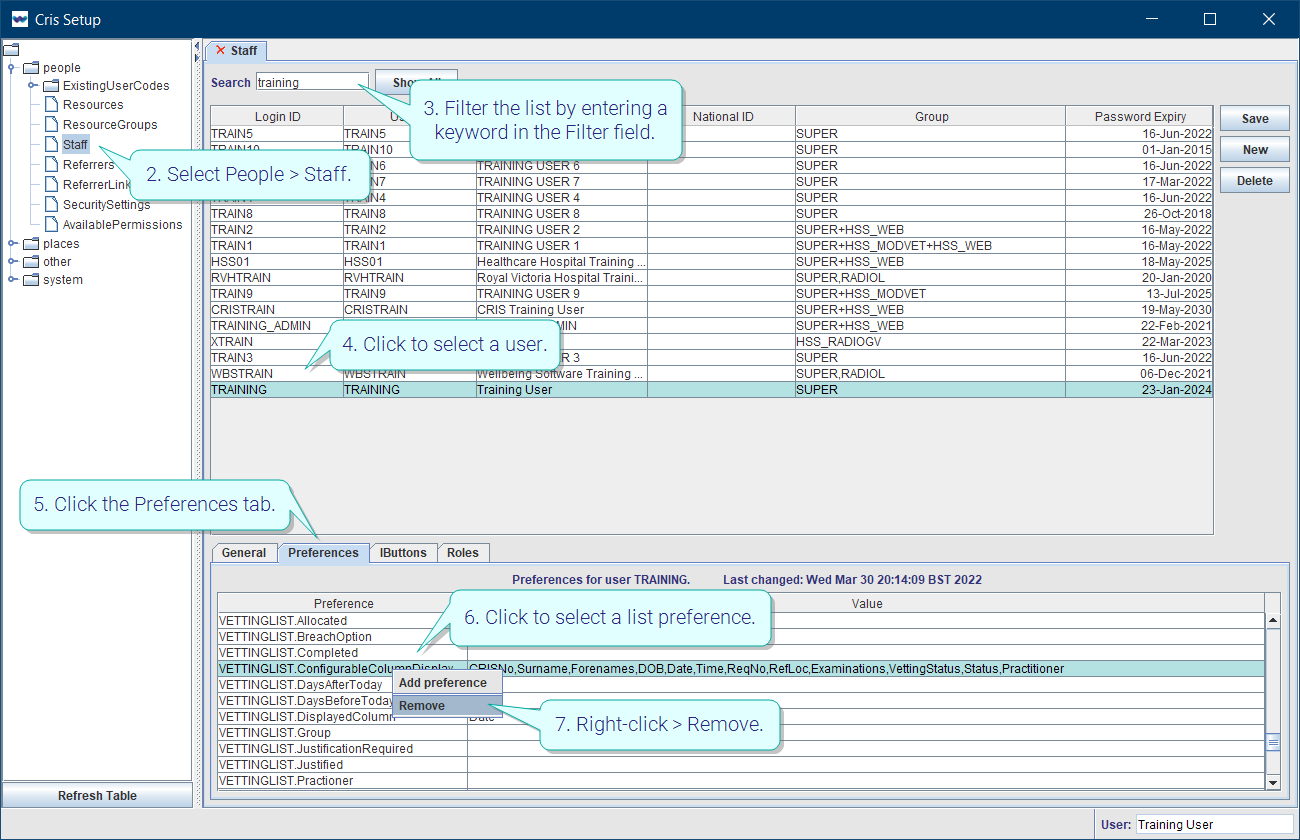
Remove all worklist column and filter selections by delete the preference(s) to restore the default layout.
- Click Tables Setup.
- Select People > Staff.
- Filter the list by entering a keyword in the Filter field.
- Click to select a user.
- Click the Preferences tab.
- Click to select a list preference (for example, VETTINGLIST.ConfigurableColumnDisplay).
- Right-click > Remove.
- Click the Save Changes button.
- Click the Refresh Table button.
System Administration: Worklists
Process attended events.